cocos2dで画面のスクリーンショットを撮ってUIImageにする
cocos2dのゲームで、画面のスクリーンショットを撮るにはどうすればいいのか調べてみました。
http://www.cocos2d-iphone.org/forum/topic/1722でいろいろ議論されていたので、4パターン試した結果をメモしておきます。
試した環境
- Xcode4.5.2
- cocos2d 2.0
(cocos2d 1.0.Xでも動きますが、メソッドが違う点がいくつかあり、修正が必要です。)
スクリーンショット取得処理
CCDirector+ScreenShot.m
CCDirectorを拡張します。
#import "CCDirector+ScreenShot.h"

#import "cocos2d.h"

@implementation CCDirector (ScreenShot)

// パターン1
-(UIImage*) takeSS1
{
	CGSize displaySize	= [self winSizeInPixels];
	CGSize winSize		= [self winSizeInPixels];

	//Create buffer for pixels
	GLuint bufferLength = displaySize.width * displaySize.height * 4;
	GLubyte* buffer = (GLubyte*)malloc(bufferLength);

	//Read Pixels from OpenGL
	glReadPixels(0, 0, displaySize.width, displaySize.height, GL_RGBA, GL_UNSIGNED_BYTE, buffer);
	//Make data provider with data.
	CGDataProviderRef provider = CGDataProviderCreateWithData(NULL, buffer, bufferLength, NULL);

	//Configure image
	int bitsPerComponent = 8;
	int bitsPerPixel = 32;
	int bytesPerRow = 4 * displaySize.width;
	CGColorSpaceRef colorSpaceRef = CGColorSpaceCreateDeviceRGB();
	CGBitmapInfo bitmapInfo = kCGBitmapByteOrderDefault;
	CGColorRenderingIntent renderingIntent = kCGRenderingIntentDefault;
	CGImageRef iref = CGImageCreate(displaySize.width, displaySize.height, bitsPerComponent, bitsPerPixel, bytesPerRow, colorSpaceRef, bitmapInfo, provider, NULL, NO, renderingIntent);

	uint32_t* pixels = (uint32_t*)malloc(bufferLength);
	CGContextRef context = CGBitmapContextCreate(pixels, winSize.width, winSize.height, 8, winSize.width * 4, CGImageGetColorSpace(iref), kCGImageAlphaPremultipliedLast | kCGBitmapByteOrder32Big);

	CGContextTranslateCTM(context, 0, displaySize.height);
	CGContextScaleCTM(context, 1.0f, -1.0f);

    UIDeviceOrientation orientation = [[UIDevice currentDevice] orientation];
	switch (orientation)
	{
		case UIDeviceOrientationPortrait: break;
		case UIDeviceOrientationPortraitUpsideDown:
			CGContextRotateCTM(context, CC_DEGREES_TO_RADIANS(180));
			CGContextTranslateCTM(context, -displaySize.width, -displaySize.height);
			break;
		case UIDeviceOrientationLandscapeLeft:
			CGContextRotateCTM(context, CC_DEGREES_TO_RADIANS(-90));
			CGContextTranslateCTM(context, -displaySize.height, 0);
			break;
		case UIDeviceOrientationLandscapeRight:
			CGContextRotateCTM(context, CC_DEGREES_TO_RADIANS(90));
			CGContextTranslateCTM(context, displaySize.width * 0.5f, -displaySize.height);
			break;
        case UIDeviceOrientationUnknown:
            break;
        case UIDeviceOrientationFaceUp:
            break;
        case UIDeviceOrientationFaceDown:
            break;
	}

	CGContextDrawImage(context, CGRectMake(0.0f, 0.0f, displaySize.width, displaySize.height), iref);
	CGImageRef imageRef = CGBitmapContextCreateImage(context);
	UIImage *outputImage = [UIImage imageWithCGImage:imageRef];

	//Dealloc
	CGImageRelease(imageRef);
	CGDataProviderRelease(provider);
	CGImageRelease(iref);
	CGColorSpaceRelease(colorSpaceRef);
	CGContextRelease(context);
	free(buffer);
	free(pixels);

	return outputImage;
}

// パターン2
-(UIImage*) takeSS2
{
	self.nextDeltaTimeZero = YES;

	CCLayerColor* whitePage = [CCLayerColor layerWithColor:ccc4(255, 255, 255, 0) width:self.winSize.width height:self.winSize.height];
	whitePage.position = ccp(self.winSize.width / 2, self.winSize.height / 2);

	CCRenderTexture* rtx = [CCRenderTexture renderTextureWithWidth:self.winSize.width height:self.winSize.height];
	[rtx begin];
	[whitePage visit];
	[[self runningScene] visit];
	[rtx end];

	return [rtx getUIImage];
}

// パターン3
-(UIImage*) takeSS3
{
	self.nextDeltaTimeZero = YES;

    CCRenderTexture* rtx = [CCRenderTexture renderTextureWithWidth:self.winSize.width height:self.winSize.height];
    [rtx beginWithClear:0 g:0 b:0 a:1.0f];
    [[self runningScene] visit];
    [rtx end];

    return [rtx getUIImage];
}

@end
CCNode+Screenshot
4パターン目です。
GitHub - cocojoe/CCNode-Screenshot: cocos2d 2.0 / 1.0 - CCNode+Screenshotで公開されている"CCNode+Screenshot"クラスを使用します。
結果
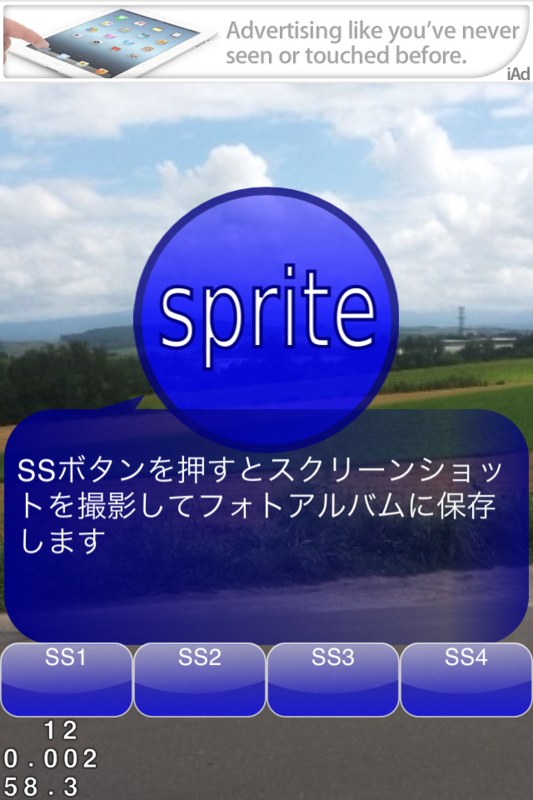
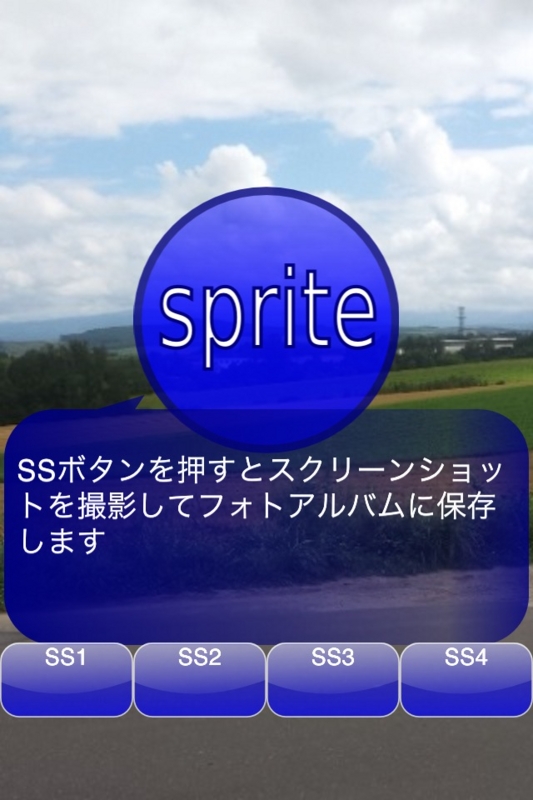
スクリーンショットを撮る画面(CCLayer)はこんな感じのサンプルを作成しました。

1枚のCCLayerにCCSpriteとCCLabelTTF、CCMenuなどを置いています。あと、iAdも置いてみました。
何が違うんだという感じですが、パターン2と3は文字が若干太いです。
FPS表示の有無もありますが、リリース時にはいずれにしろ表示させないと思うので、気にしないことにします。
いずれも、OpenGL描画部分のみを撮るようで、広告はスクリーンショットに含まれません。これは便利。
パーティクルもちゃんと撮れます。
ひとつ気になる点としては、パターン1と4はiPadの実機ではなぜか画像が真っ黒になる(シミュレーターは大丈夫)ようで、
使うなら2か3がいいのではないかと思います。


